Before you can configure and use ADO.NET with Connect AI, you must first connect a data source to your Connect AI account. See Sources for more information.
Install the Provider
Follow these steps to download and install the provider:1
Download and run the ADO.NET setup file.
2
The installer can automatically detect software that supports ADO.NET, such as Visual Studio. Select the options that you want the installer to configure.
3
After installation, the ADO.NET Provider will be available in the software that you selected during installation.
Connect to Connect AI
Connect AI uses OAuth to establish a connection between the ADO.NET Provider and your account. The steps below provide an example of configuring the ADO.NET Provider in Visual Studio 2022:1
In Visual Studio, click Tools > Connect to Database.
2
Select CData Connect Data Source as your Data Source.
3
In the Data Provider drop-down menu, select ADO.NET Provider for CData Connect 2021 and click Continue.
4
The Add Connection window appears. In the Auth Scheme field, select OAuth. Do not fill out other fields.
5
Click Test Connection.
- If you are already logged in, a success message appears.
- If you are not logged in, the Connect AI sign-in window opens in your web browser. Sign in and return to Visual Studio.
6
Click OK on the success message and OK in the Add Connection window.
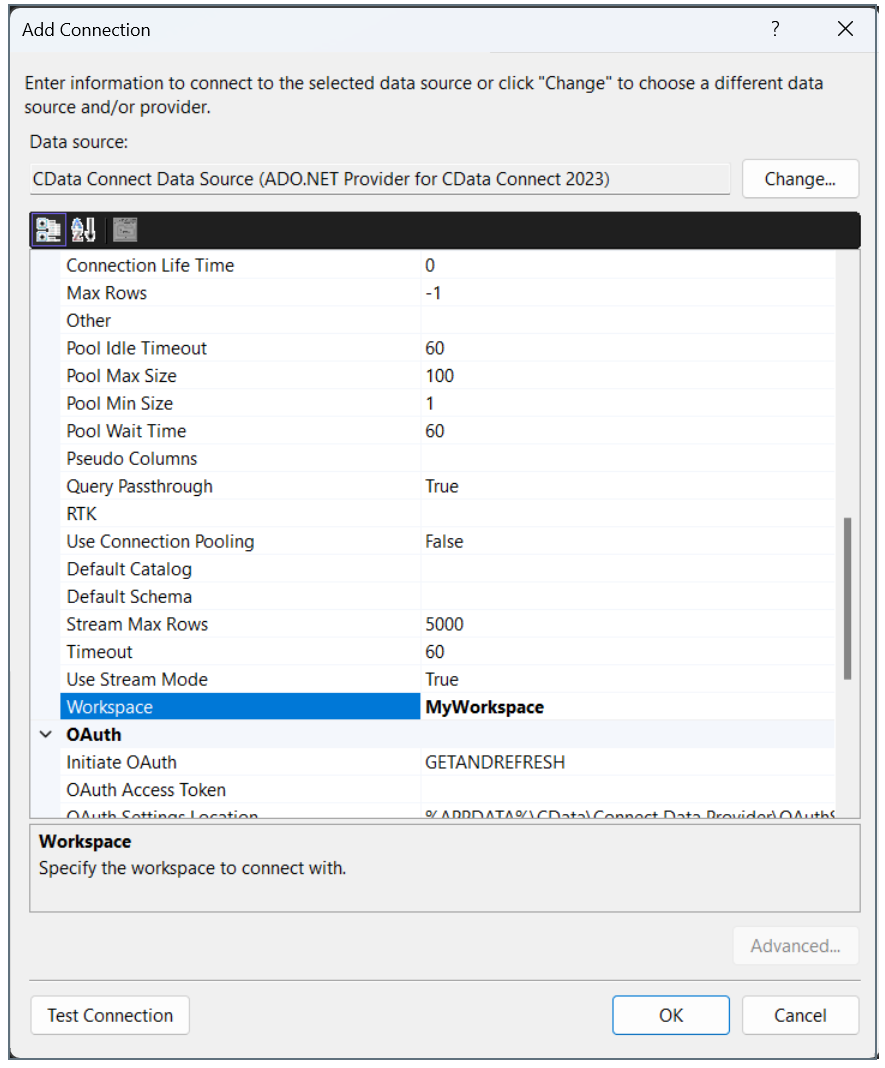
Connect to a Workspace
To connect the ADO client to a specific workspace, you specify the workspace name in the Workspace field of the Add Connection window.