Prerequisites
Before you connect, you must first do the following:- Connect a data source to your Connect AI account. See Sources for more information.
- Add a workspace to Workspaces.
- Add assets to your workspace.
- Generate a Personal Access Token (PAT) on the Settings page. Copy this down, as it acts as your password during authentication.
Connect to Connect AI via OpenAPI
To establish a connection from AWS App Studio to Connect AI via OpenAPI, follow these steps.1
In Workspaces in Connect AI, select a workspace and download the OpenAPI specification for the workspace. See OpenAPI for more information.
You must use OpenAPI version 3.0.
2
Log in to AWS App Studio.
3
Open the Admin hub.
4
Click Create Connector.
5
In the Select a connector page, select OpenAPI Connector.
6
In the OpenAPI Connector Configuration page, configure the following:
- Name—enter a name of your choice for the connection.
- Description—if desired, enter a description for the connection.
- Base URL—the URL of the OpenAPI Specification file.
- Authentication method—select Basic.
- Username—enter your Connect AI username. This is displayed in the top-right corner of the Connect AI interface. For example, test@cdata.com.
- Password—enter the PAT you generated on the Settings page.
- OpenAPI Specification file—import the OpenAPI Specification file you downloaded from Connect AI.
7
Save the connector.
Use the OpenAPI Connection in AWS App Studio
1
Open the Builder hub.
2
Click Create app and give the application a name.
3
Click Add automation.
4
In the Actions tab to the right of the application creation screen, click Invoke API and add it to a flow.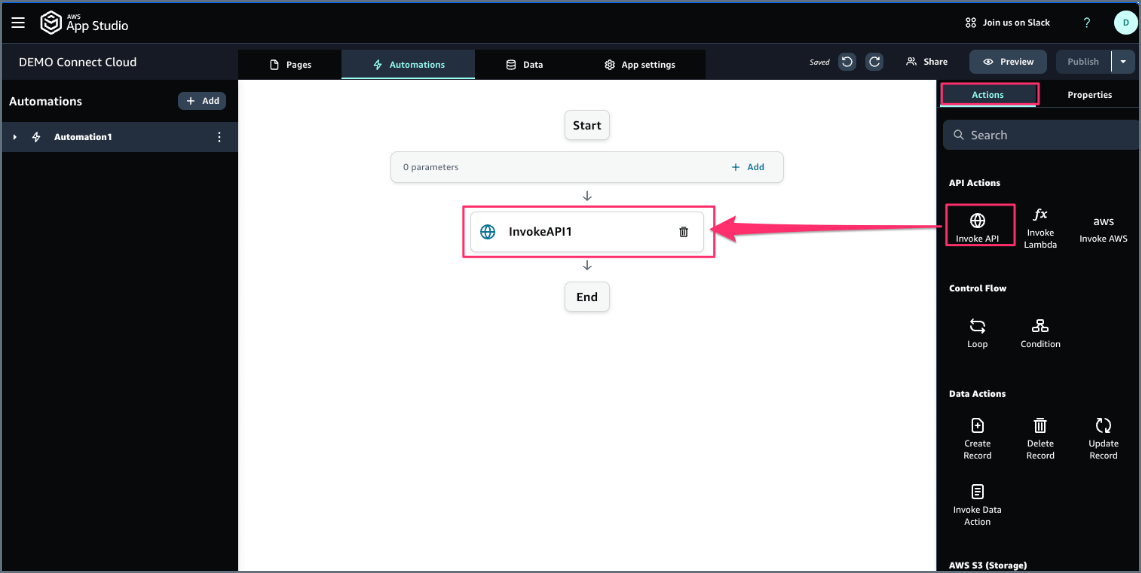
5
In the Properties tab to the right of the application creation screen, select the OpenAPI connector you created.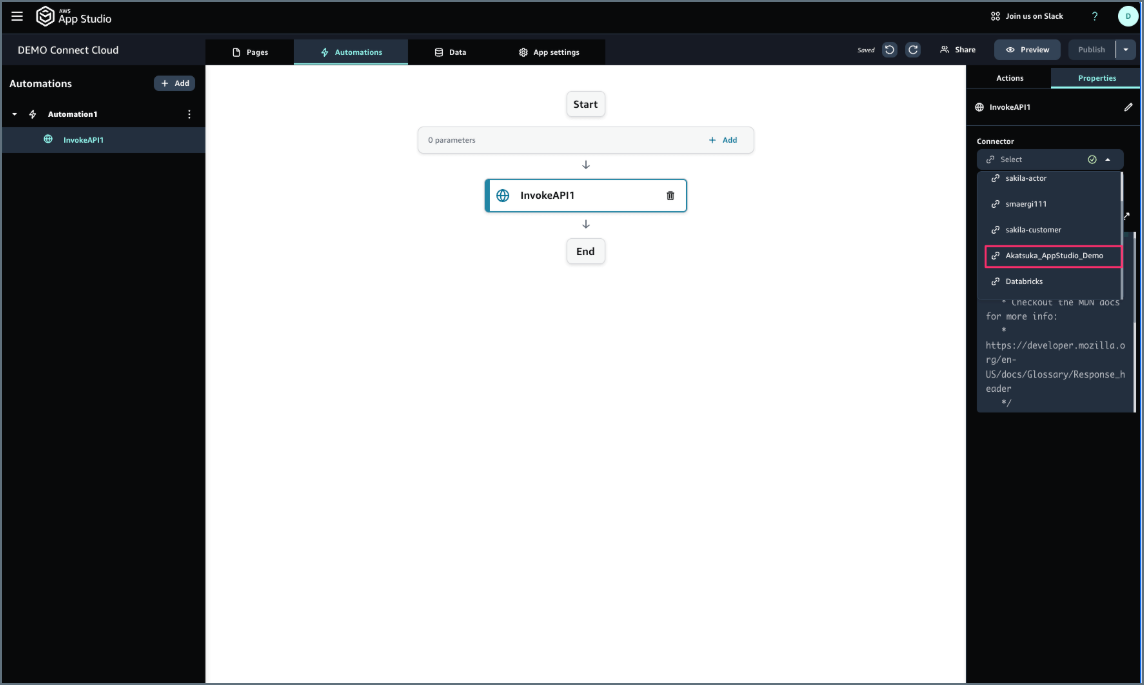
6
Confirm the contents of the OpenAPI connector.
7
Once the flow is successfully completed, you can test the outputs for your flow.