Prerequisites
Before you connect, you must first do the following:- Connect a data source to your Connect AI account. See Sources for more information.
- Create a Workspace. Later, you will use the OData Service URL on that page (https://cloud.cdata.com/api/odata/{workspace\_name}) with the relevant workspace name to establish the connection.
- Generate a Personal Access Token (PAT) on the Settings page. Copy this down, as it acts as your password during authentication.
Connect to Connect AI
To establish a connection from Jitterbit to Connect AI using the OData protocol, follow these steps.1
Log in to Jitterbit.
2
Create a project in Cloud Studio and provide a workspace environment for it.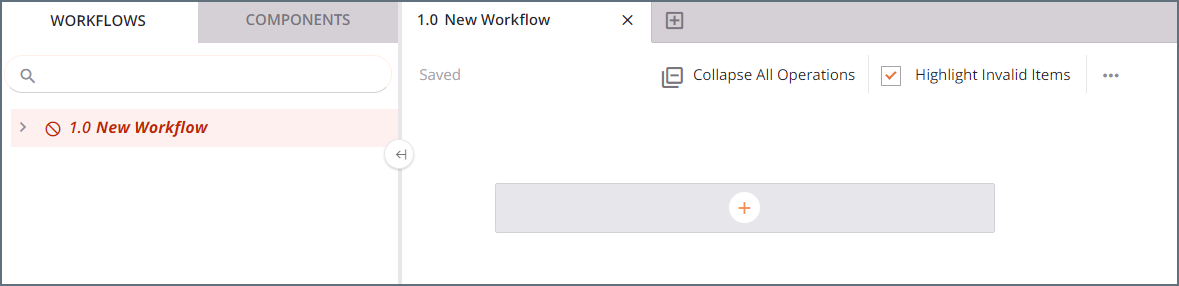
3
Click Connections and enter OData in the search bar.
4
Select the OData connector.
5
Enter the OData connection properties.
- Connection Name—enter a connection name.
- OData Metadata URL—enter the metadata URL: https://cloud.cdata.com/api/odata/{workspace\_name}/$metadata.
- Authentication—select Basic Auth.
- User Name—enter your Connect AI username. This is displayed in the top-right corner of the Connect AI interface. For example, test@cdata.com.
- Password—enter the PAT you generated on the Settings page.
6
Click Test to test the connection, and then click Save Changes.
7
Choose the operation you want to perform and drag it to the workflow in your project.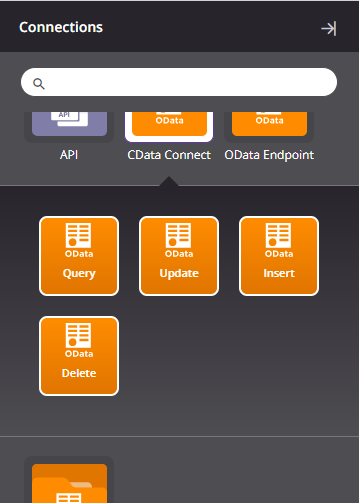
8
Double-click the query operation to see all the tables and derived views available in your OData endpoint.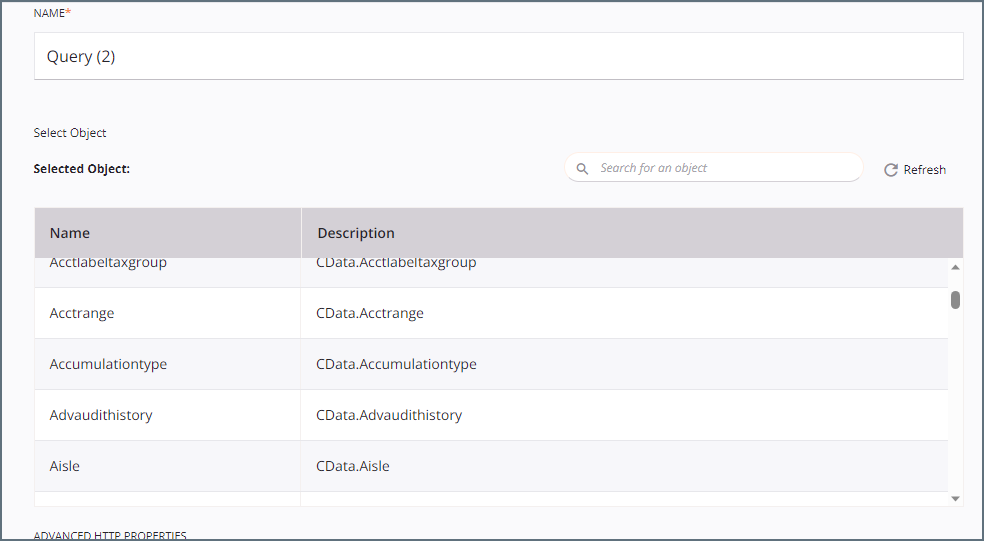
9
Select a table and configure the query.You can now transform and integrate your data.